Anna Maria Locke

indoor spring: 2013 Chicago Flower and Garden Show

AnnaComment

Before I share more pretty flower pictures, I'd like to do my blogger duty of acknowledging that Google Reader is going away. I've been a daily GR user since 2009 and I just can't believe them when they say that "usage is declining"! I'm usually supportive of Google's world takeover mission but I don't like how they're manipulating everyone into using Google+. 

Well, anyway, if you're a Google Reader user you've probably found an alternative by now. I've started using Feedly and I love it so far. It takes a little bit longer to load on my computer sometimes but I think it's actually better than GR in that it's easier to organize your blogs and read one at a time.

Another popular option (especially for fellow bloggers) seems to be Bloglovin'.
If you're a Bloglovin fan you can follow me by clicking the link below!


Ok, on to the post!


This weekend Ben and I ventured downtown to check out the 2013 Chicago Flower & Garden Show at Navy Pier. My uncle's bulb company Doornbosch Bros. is responsible for the spectacular tulip displays and since we now live in the city we had to take the opportunity to visit him and my cousins at their bulb booth and experience the gorgeous colors!
 

Since it seems like we are stuck in a perpetual Narnia-style winter here in Chicago, it was SO refreshing to get to see some flowers blooming. If you've read my blog for any stretch of time you know that I love taking photographs of flowers, so I left Ben on his own to wander around the exhibition hall while I spent a good amount of time geeking out and taking tulip portraits!


Each of the 8,000 bulbs were individually planted in a little pot last fall, left in a cooler to simulate winter, "forced" to grow and bloom in a greenhouse last month, and then painstakingly planted in these raised beds!


The hundreds of fellow spring-starved people at the show were all magnetically drawn to the spectacular tulip displays. 


It was an interesting challenge to photograph flowers under harsh spotlights!


Pink tulips are my favorite, can you tell?


The tulips with feathered stripes are called Rembrandt tulips and were highly prized back in the Tulipomania days of the 1600's. Originally the color variations were caused by a virus but growers have developed a way to mimic the coloring patterns in healthy bulbs.


I like hyacinths better than tulips because they smell so good!


If you're interested in planting tulips in your yard, look for large bulbs from an authentic Dutch supplier. Planting season for tulips and other early spring flowers (daffodils, hyacinths, crocus) is in the late fall (October/early Nov) before the first frost. Plant bulbs in clusters of at least 12 for the most dramatic effect! You can plant summer flowers right now. Here are some more planting tips.

I hope you enjoyed this glimpse of spring! Maybe someday we'll see some flowers growing outdoors too...I say as it actually snows outside.

Do you have a favorite flower? 
(Tulips are nice but I really love big fluffy summer blooms like peonies and dahlias the best).

Have you ever tried planting bulbs?

five facts for Friday

AnnaComment
HAPPY FRIDAY!!!
 
As requested by Abbie, here are five random facts about me.
If you're my friend in real life, how many did you already know?
 
 
1. I am 50% Dutch, my dad was raised on a tulip farm, and my mom majored in horticulture (she's from Iowa). Even my 11 year old sister has a collection of violets and plants in her bedroom (and she has named them all). BUT DESPITE ALL THIS, I struggle to keep houseplants alive. It's really sad. This is a picture of the tulip bulbs we gave out as wedding favors that I successfully forced to bloom by keeping them in the fridge for a few months! I am so proud, even though we got less than half to flower and they're all different sizes and kind of sickly looking.

 
2. Another thing I am very proud of is my little Etsy shop. It has been a source of constant inspiration and joy for the past two months and has kept me from getting depressed because of winter and my underemployed status. I'm throwing all my energy and time into it and I think it's (slowlyyyy) starting to take off! I've been learning a lot as well, which I will definitely share in future post. Oh, and I am beyond excited to start painting custom wedding invitations. If you know a recently engaged person, please send them my way!
 
 
3. I will drive myself to succeed at everything I do because I hate feeling incompetent (see #2). When I fell in love with the subject of Geography, I earned a full ride to one of the top graduate programs (Penn State, now infamous). In college I had a crush on a cute pole vaulter, so in order to spend more time near him I joined the track and cross country teams (see picture of me pretending like I'm athletic...actually competitive running is the biggest thing I've "failed" at haha). I may have usually been the last runner on the track, but I did end up married to that pole vaulter! I've never been dismissive or embarrassed by my successes because I work so hard to get there. I think women put themselves down too often, and we should just own up to our personal awesomeness.
 
 
4. In college I was in a fraternity. Yup. Technically it was a "sister fraternity" (Sigma Alpha Iota), which basically means sorority, and it was a national music frat. Here's a picture of us in our collegiate matching t-shirts on the night of our senior bar crawl. Keepin it classy!


5. I am an introvert and glad to be one, despite feeling like we live in an extrovert-centric world. INFJ on the personality tests, although I don't have the psychic powers it says I should. If I click with someone (or have a couple glasses of wine), I can be extremely chatty, but usually I come off as quiet. I'm definitely not shy though! Ben is also an INFJ which is kind of cool since we're apparently only 1% of the population.
 
And here's a bonus round: My best friend Ashley (our moms were pregnant together so we were internally bonded for life) and I shared a childhood goal to become pediatricians when we grew up, and I was planning on going to med school until I was 19 years old and discovered geography. Now I do research on trees, teach little kids about nature, and knit and paint for a living, but Ashley just got placed for her residency in pediatrics and I am so proud of her! And also glad I dodged a bullet because I am definitely not meant to be a doctor, although I know I could have been one (see #3).
 
What are some random things I don't know about you?


yarn pom pom tutorial

AnnaComment
You guys, I have a confession to make. I am addicted to yarn.
 
My stash is getting really out of control, especially since we’re headed towards the warmer months and therefore I lose my excuse to knit cozy scarves and accessories.
 
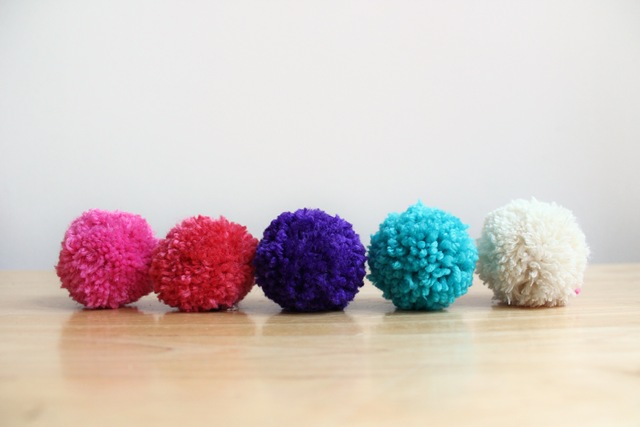
I decided I needed to take action immediately to reduce the stash, so a couple weeks ago I re-kindled  a childhood craft: the yarn pom pom.
IMG_2396
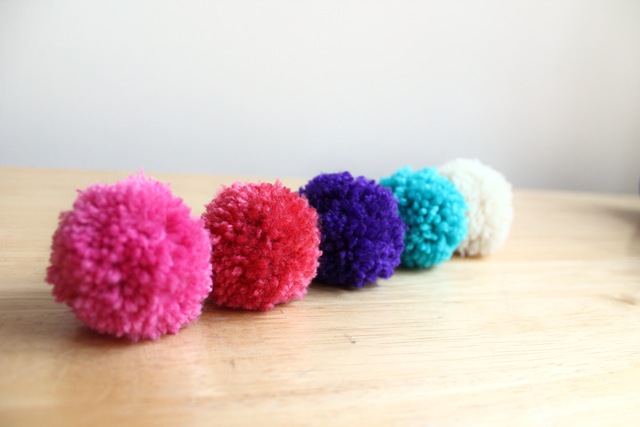
Aren’t they so cute??
 
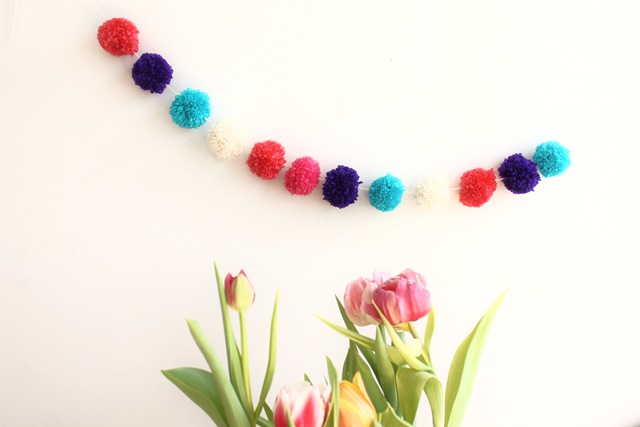
You can use pom poms as gift toppers, keychain fobs, hat or glove embellishments, or string them into a happy garland that is perfect for decorating a nursery, birthday party, or any room in your home! Why not try personalizing a garland with holiday colors, wedding colors for a themed bridal shower, or school colors for a graduation party? The possibilities are endless!
IMG_2666
Making pom poms is pretty easy once you get the hang of it. In this tutorial I’ll show you how to make pom poms in any size you want using minimal supplies, and then how string them into a garland!
IMG_2366
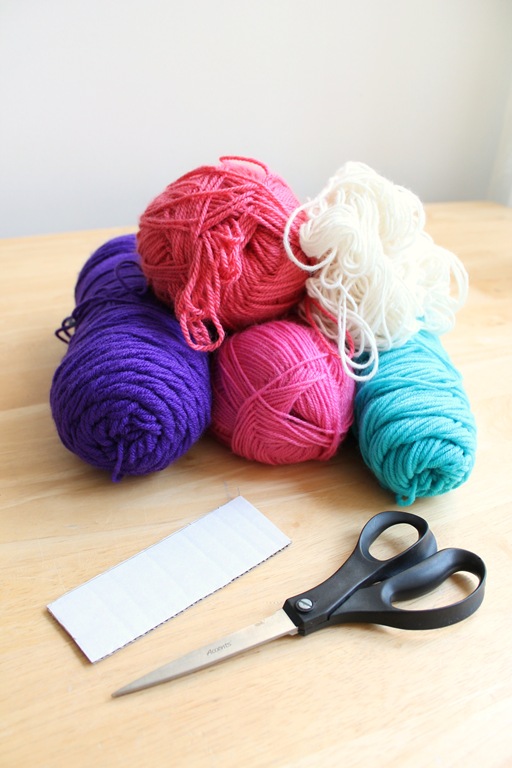
Supplies Needed:
  • Yarn (you can use any kind, my favorite is Caron Simply Soft because it has a bit of sheen)
  • Sharp scissors
  • A rectangular strip of cardboard (I cut mine to 1.5” wide by 5” long. The wider the cardboard, the bigger the poms will be!)
  • A yarn needle (not pictured)
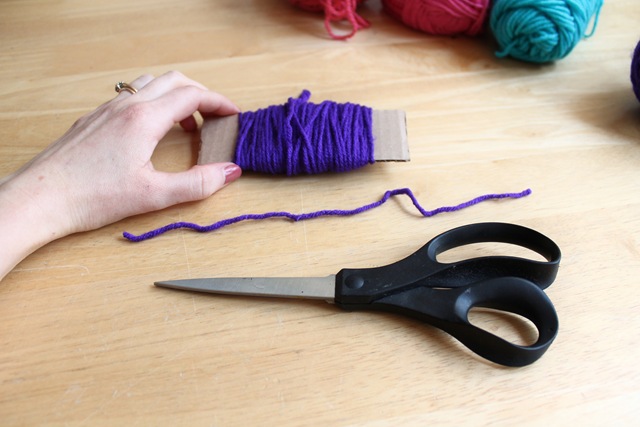
IMG_2368 Step 1: Pick your first color of yarn, find the end that feeds out of the center of the skein (sometimes you have to partially disembowel your skein of yarn to pull it out of the middle), and start wrapping it around the width of the cardboard. Again, I’m using a 1.5” wide piece of cardboard which makes a nice small size pom pom. You can try making bigger or smaller pom poms simply by using different sizes of cardboard!IMG_2372
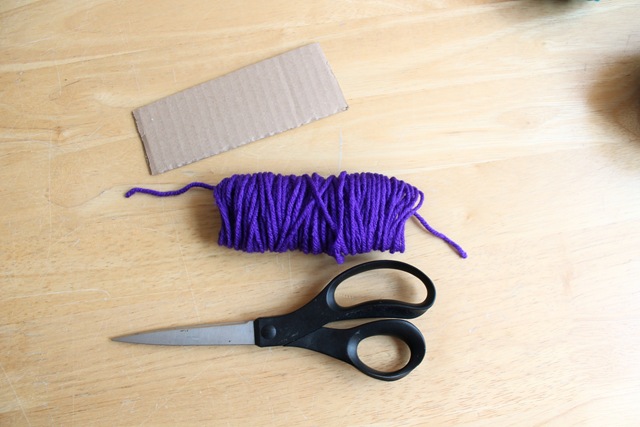
Step 2: After you have wrapped your yarn between 120 and 150 times around (depending on the thickness of the yarn, you just have to eyeball it), cut the end from the skein.
IMG_2375 (Here’s what the thickness of your wrapped yarn should approximately look like. The more yarn you use, the fatter and denser your pom pom will be.)
IMG_2377
Step 3: Cut a piece of yarn about 8 inches long and lay it on your surface.
 IMG_2381
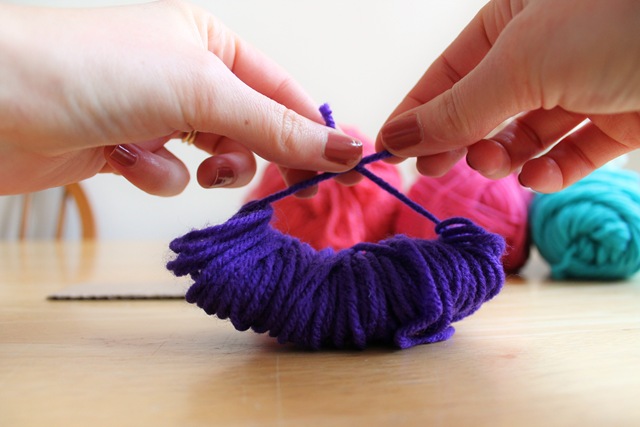
Step 4: CAREFULLY slide your wrapped yarn off the cardboard, keeping the integrity of the loops intact. Gently place the wrapped yarn bundle on top of the piece of yarn. **Make sure the piece of yarn on the bottom is running along the exact midline of your loops (my piece was not 100% straight so it appears like it’s off center).
 IMG_2382
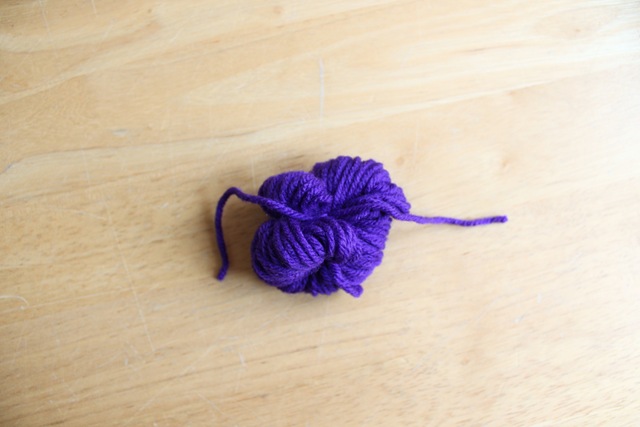
Step 5: Again keeping the piece of yarn centered on the midline of the loops, tie it in a knot as TIGHT AS YOU CAN, making a yarn bundle.
IMG_2383
Here’s what your tied bundle of yarn should look like. The loops above and below the knotted piece of yarn should be perfectly even to ensure a round pom pom. (Note that my top loops on the left seem to be a little smaller than my bottom loops. It’s not the end of the world if you’re not a perfect pom pom machine).
IMG_2384
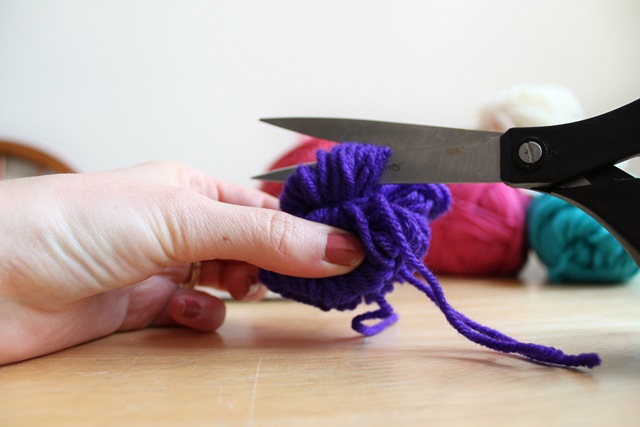
Step 6: Take your scissors and snip the loops open, making sure cut the very top of the loop so that both sides end up the same length.
IMG_2385
It might take a little searching to find all the loops, but when they’re cut you will have a shaggy pom pom!
 IMG_2388
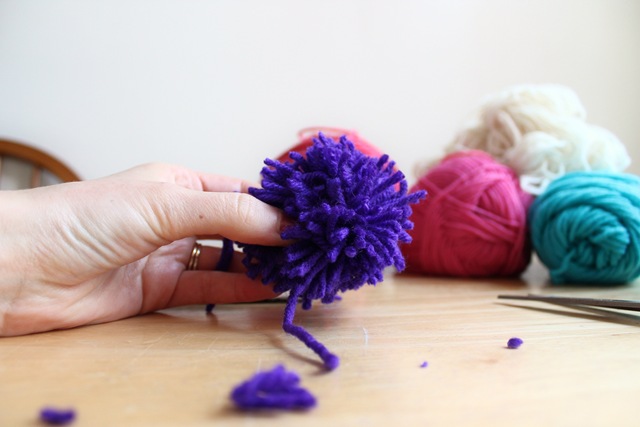
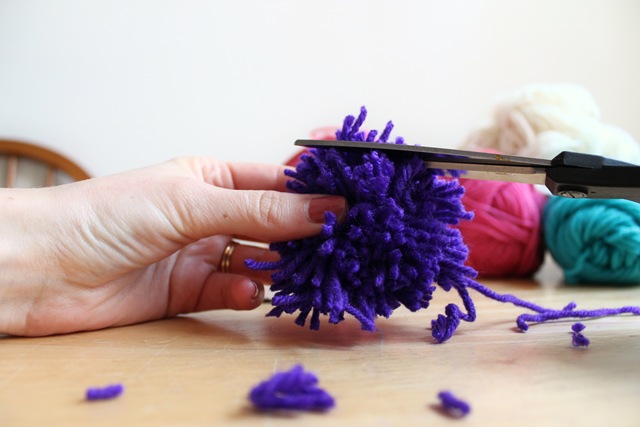
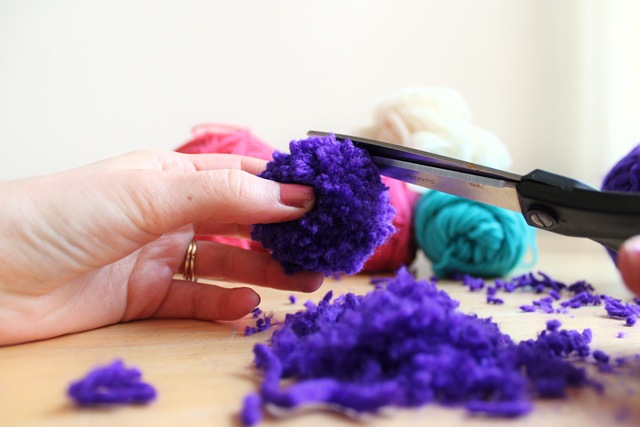
Step 7: Now comes the finesse. Start trimming your shaggy pom pom until all the ends are uniform. This takes a bit of practice, and if your loops weren’t totally even sized you will end up cutting your pom down into a smaller size, but that’s ok.
IMG_2389
You won’t really get what I’m talking about until you actually try it, so don’t be afraid :) Keep trimming until all the loose ends are shaped into a sphere.
 IMG_2391 
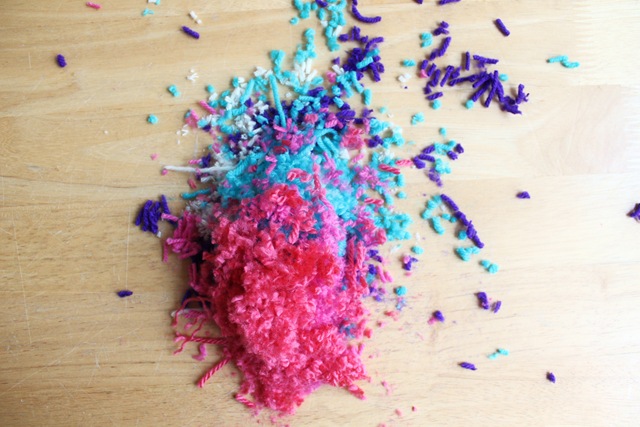
p.s. I recommend trimming your poms over a small garbage can, unless you want to have a pile of yarn confetti and dust.
IMG_2399
Repeat steps 1-7 until you have all the pom poms you want! I usually make 12-15 for each garland. (Note how my poms are not perfectly smooth spheres. To quote my thesis adviser: We strive for EXCELLENCE, NOT PERFECTION!!)
 
IMG_2637
Step 8: Once you’ve made all your poms, cut a string of yarn about 6-8 feet long from whatever color you want to use for the garland. Obviously you can make it as long or short as you want! Use the string to thread a yarn needle.
IMG_2642
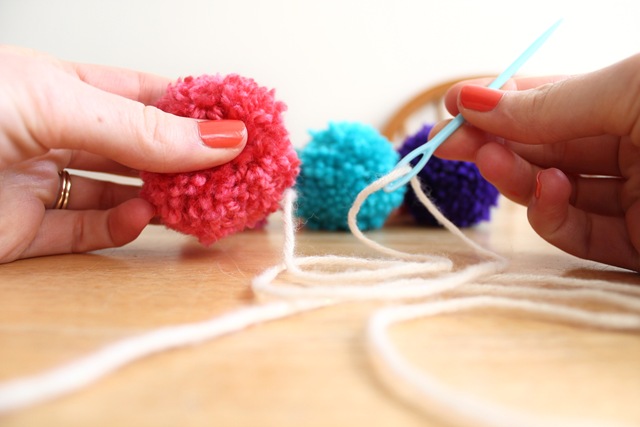
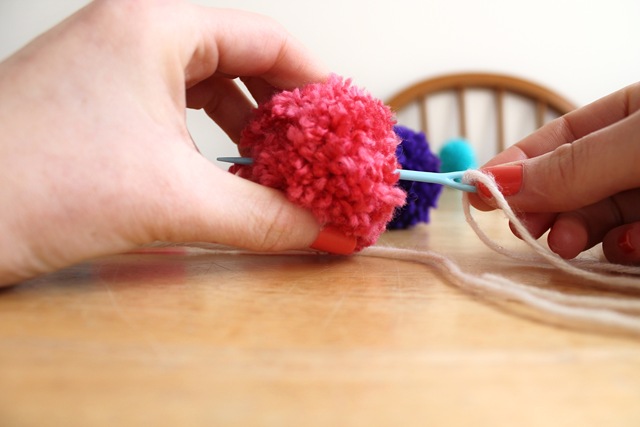
Step 9: Use your thumb and finger to squish the first pom pom until you feel the small circle that the center knotted string is making. Slide your needle through the center of that circle, and repeat with your remaining pom poms to make a garland! (Your needle may dislodge a few pieces of yarn from the pom, and having a couple exploding pom pom casualties is not unheard of.)
     IMG_2662
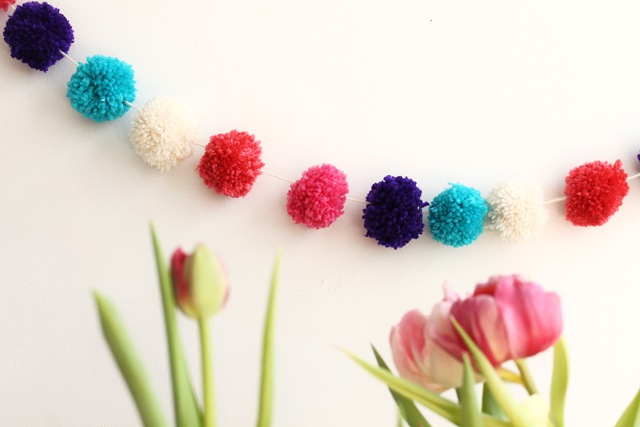
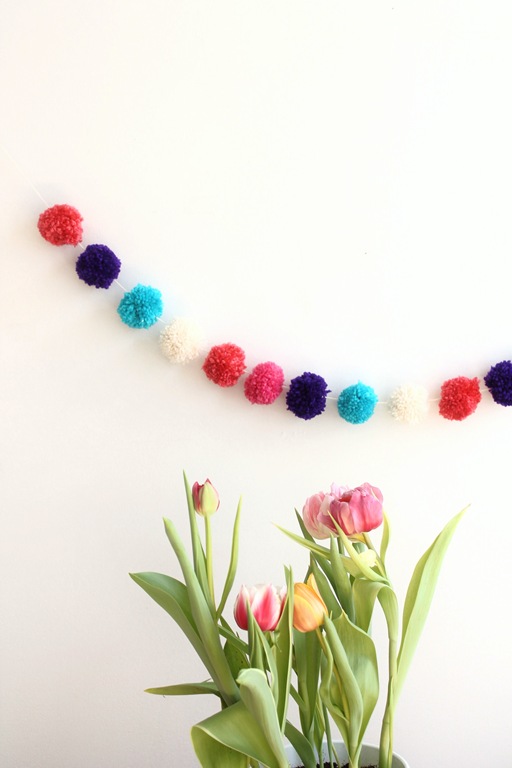
And your pom pom garland is complete! Notice how you can slide the poms along the string and place them as close or far apart as you want.
 IMG_2665 
Add a cheerful pop of color to your home! Let me know if you try this tutorial!
 
(Also, would anyone be interested if I sold these garlands in my shop?)