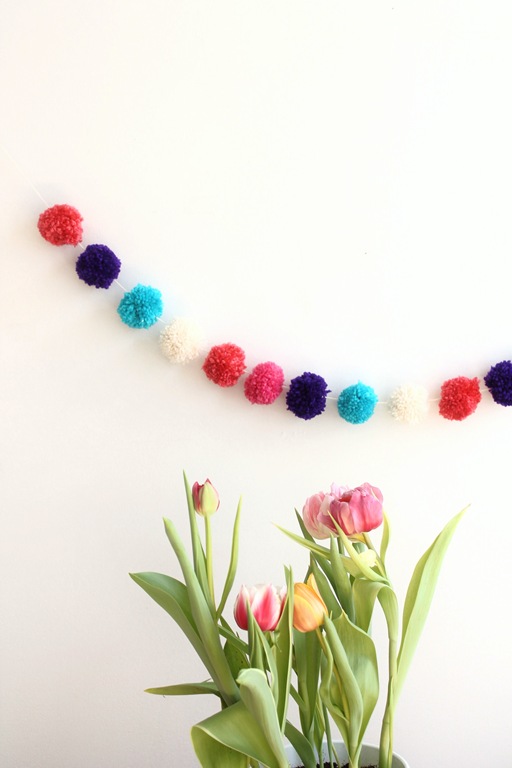
You guys, I have a confession to make. I am addicted to yarn.
My stash is getting really out of control, especially since we’re headed towards the warmer months and therefore I lose my excuse to knit cozy scarves and accessories.
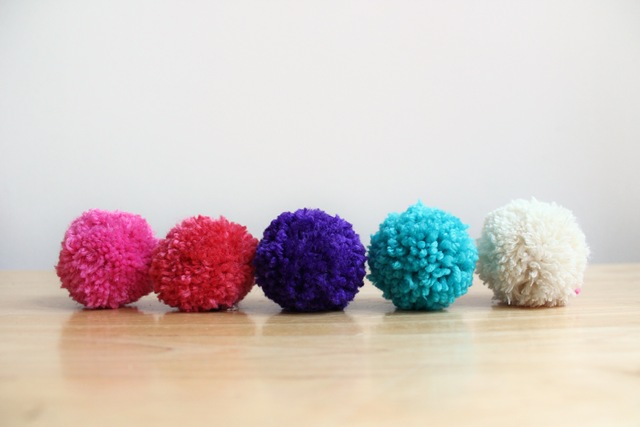
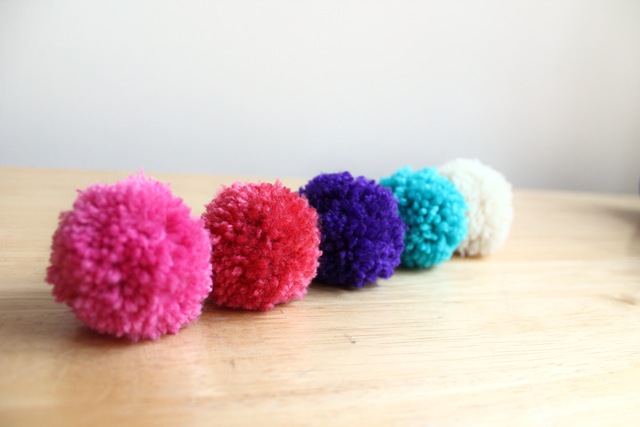
I decided I needed to take action immediately to reduce the stash, so a couple weeks ago I re-kindled a childhood craft: the yarn pom pom.
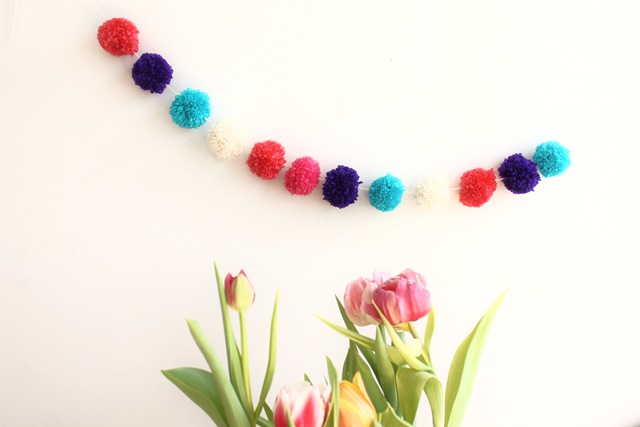
You can use pom poms as gift toppers, keychain fobs, hat or glove embellishments, or string them into a happy garland that is perfect for decorating a nursery, birthday party, or any room in your home! Why not try personalizing a garland with holiday colors, wedding colors for a themed bridal shower, or school colors for a graduation party? The possibilities are endless!
Making pom poms is pretty easy once you get the hang of it. In this tutorial I’ll show you how to make pom poms in any size you want using minimal supplies, and then how string them into a garland!
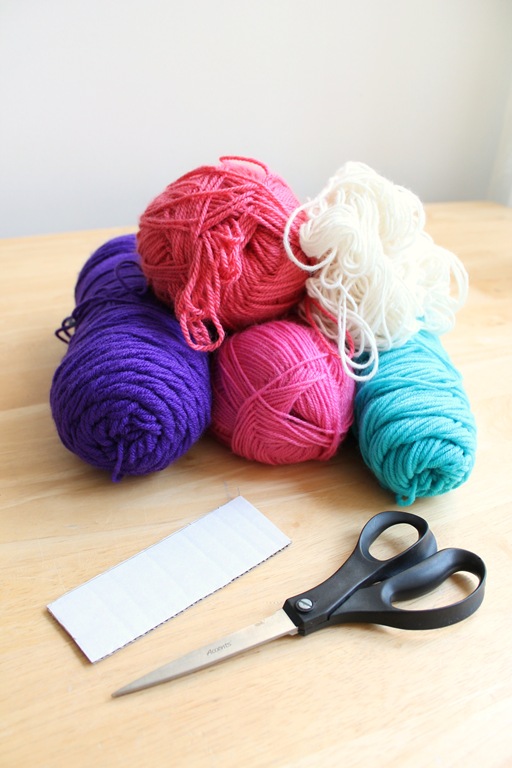
Supplies Needed:
- Yarn (you can use any kind, my favorite is Caron Simply Soft because it has a bit of sheen)
- Sharp scissors
- A rectangular strip of cardboard (I cut mine to 1.5” wide by 5” long. The wider the cardboard, the bigger the poms will be!)
- A yarn needle (not pictured)
 Step 1: Pick your first color of yarn, find the end that feeds out of the center of the skein (sometimes you have to partially disembowel your skein of yarn to pull it out of the middle), and start wrapping it around the width of the cardboard. Again, I’m using a 1.5” wide piece of cardboard which makes a nice small size pom pom. You can try making bigger or smaller pom poms simply by using different sizes of cardboard!
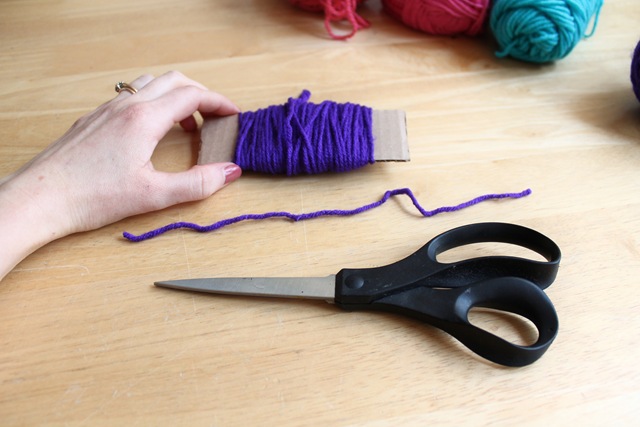
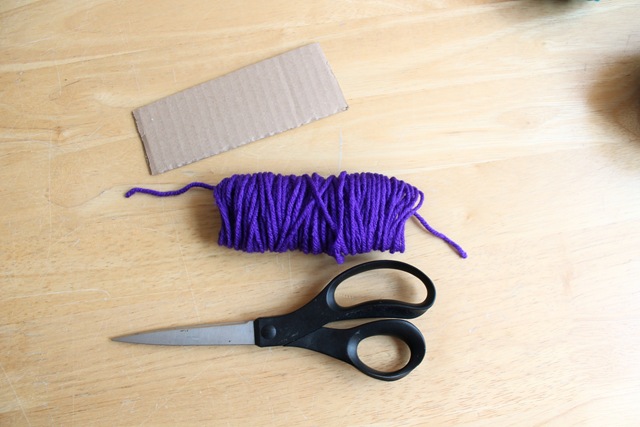
Step 2: After you have wrapped your yarn between 120 and 150 times around (depending on the thickness of the yarn, you just have to eyeball it), cut the end from the skein.
 (Here’s what the thickness of your wrapped yarn should approximately look like. The more yarn you use, the fatter and denser your pom pom will be.)
Step 3: Cut a piece of yarn about 8 inches long and lay it on your surface.
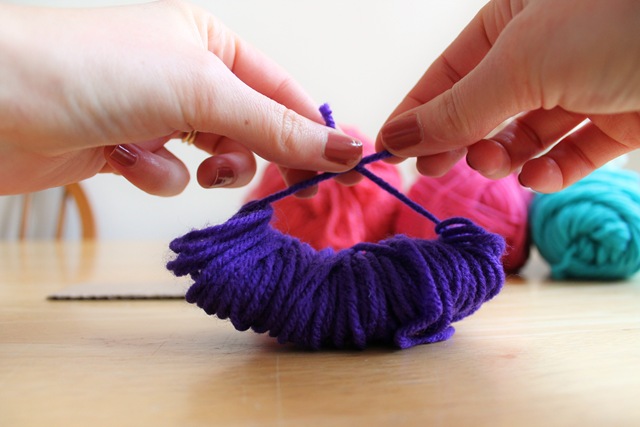
Step 4: CAREFULLY slide your wrapped yarn off the cardboard, keeping the integrity of the loops intact. Gently place the wrapped yarn bundle on top of the piece of yarn. **Make sure the piece of yarn on the bottom is running along the exact midline of your loops (my piece was not 100% straight so it appears like it’s off center).
Step 5: Again keeping the piece of yarn centered on the midline of the loops, tie it in a knot as TIGHT AS YOU CAN, making a yarn bundle.
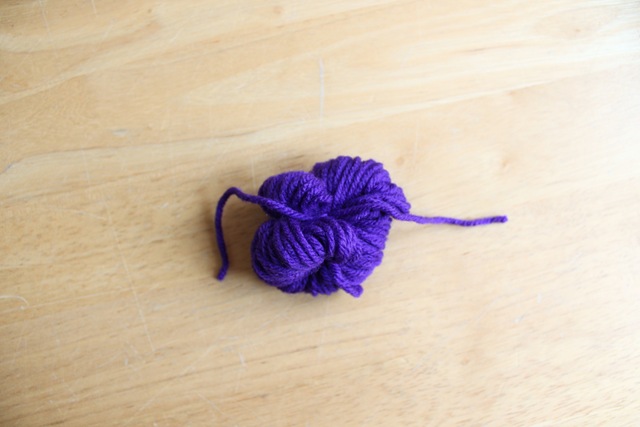
Here’s what your tied bundle of yarn should look like. The loops above and below the knotted piece of yarn should be perfectly even to ensure a round pom pom. (Note that my top loops on the left seem to be a little smaller than my bottom loops. It’s not the end of the world if you’re not a perfect pom pom machine).
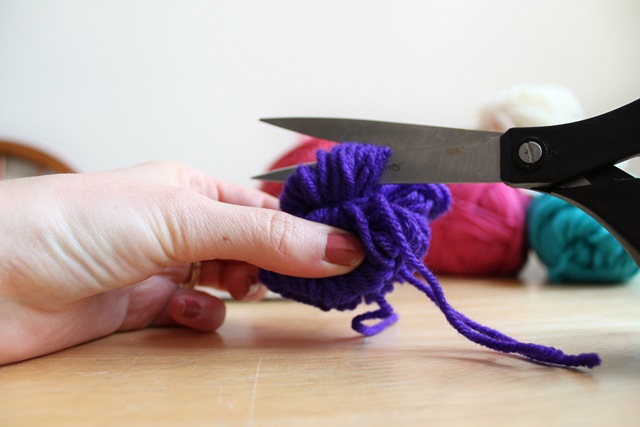
Step 6: Take your scissors and snip the loops open, making sure cut the very top of the loop so that both sides end up the same length.
It might take a little searching to find all the loops, but when they’re cut you will have a shaggy pom pom!
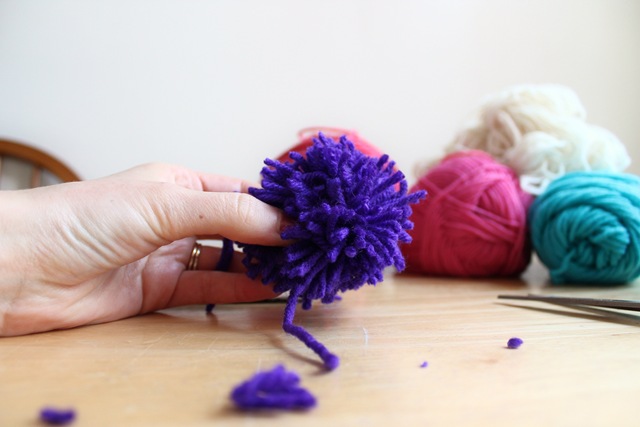
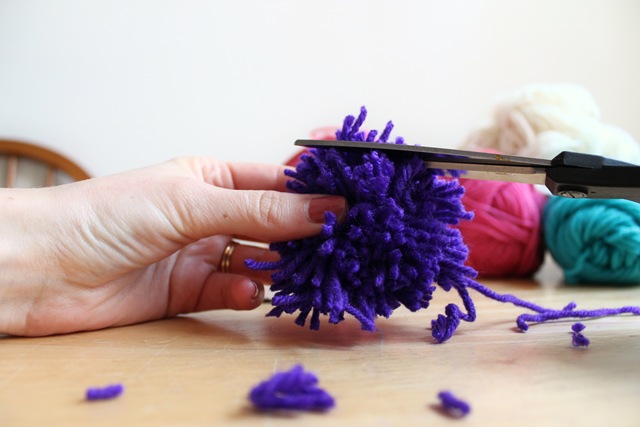
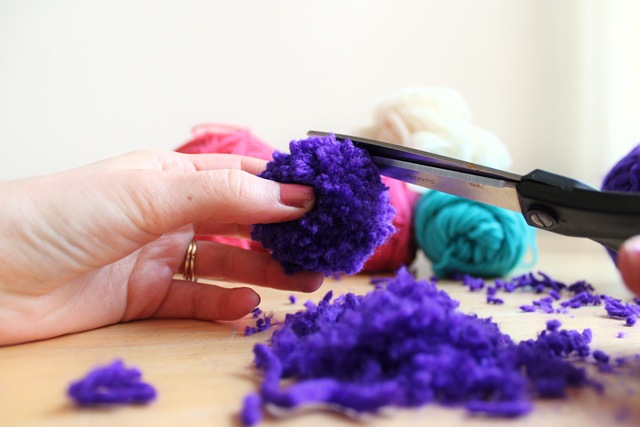
Step 7: Now comes the finesse. Start trimming your shaggy pom pom until all the ends are uniform. This takes a bit of practice, and if your loops weren’t totally even sized you will end up cutting your pom down into a smaller size, but that’s ok.
You won’t really get what I’m talking about until you actually try it, so don’t be afraid :) Keep trimming until all the loose ends are shaped into a sphere.
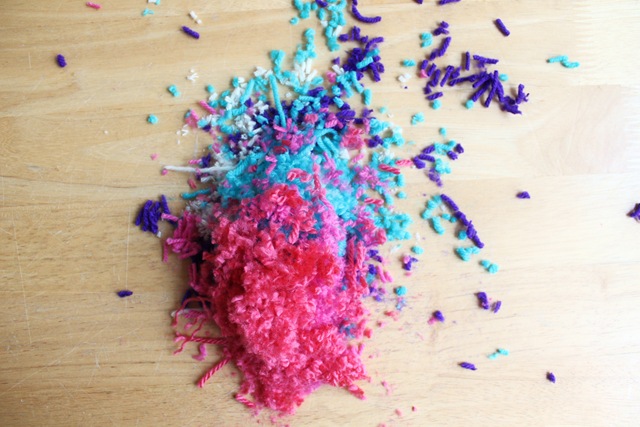
p.s. I recommend trimming your poms over a small garbage can, unless you want to have a pile of yarn confetti and dust.
Repeat steps 1-7 until you have all the pom poms you want! I usually make 12-15 for each garland. (Note how my poms are not perfectly smooth spheres. To quote my thesis adviser: We strive for EXCELLENCE, NOT PERFECTION!!)
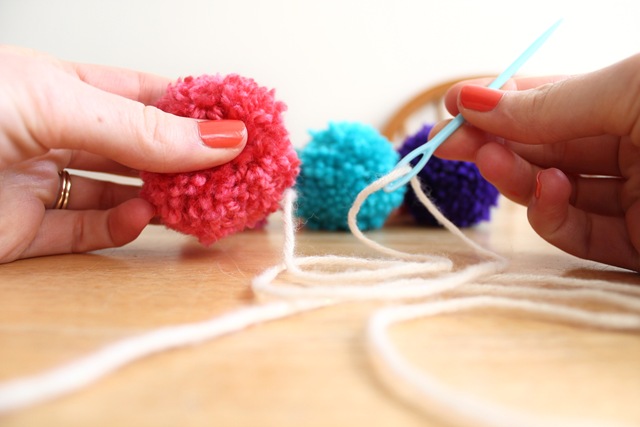
Step 8: Once you’ve made all your poms, cut a string of yarn about 6-8 feet long from whatever color you want to use for the garland. Obviously you can make it as long or short as you want! Use the string to thread a yarn needle.
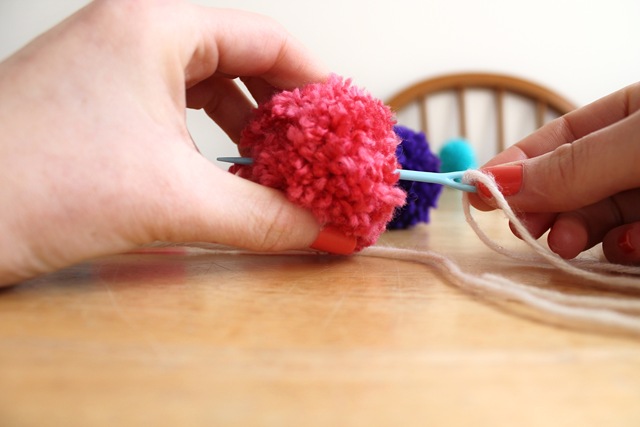
Step 9: Use your thumb and finger to squish the first pom pom until you feel the small circle that the center knotted string is making. Slide your needle through the center of that circle, and repeat with your remaining pom poms to make a garland! (Your needle may dislodge a few pieces of yarn from the pom, and having a couple exploding pom pom casualties is not unheard of.)
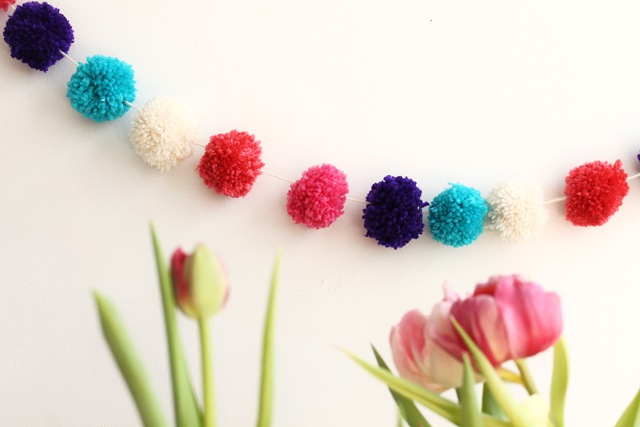
And your pom pom garland is complete! Notice how you can slide the poms along the string and place them as close or far apart as you want.
Add a cheerful pop of color to your home! Let me know if you try this tutorial!
(Also, would anyone be interested if I sold these garlands in my shop?)

